📹 How To Bulk Import Posts From CSV, Excel, Google Sheet Or Spreadsheet
Bulk importing is a great way to add a large number of Posts to your Queue at once. With SmarterQueue, you can bulk import up to 200 Posts at a time, in just a few seconds. 💪
In This Article
- Video Walkthrough
- Getting Your Spreadsheet Ready For Import
- How To Locate & Initiate A Bulk Import
- Managing Your Bulk Import Options
- Common Questions
Video Walkthrough
Getting Your Spreadsheet Ready For Import
Creating and formatting your spreadsheet properly is an important first step to importing your posts.
To help you get started, you can download our sample CSV file.

- Use software like Excel, Numbers, or Google Sheets, to create your spreadsheet
- You may keep the header row; otherwise, the first row should contain your first post
- Whether or not you keep the header row, your content must follow this order for each column:
- Column A= Post Text
- Column B= Link
- Links will be shortened if you have link-tracking turned on in your Settings
- Column C= Image
- If you want to bulk upload images with your CSV, you’ll need to upload your images to the web first
- We recommend the following three platforms that can be used to upload images. Images must be in .jpg, .jpeg, .png, or .gif formats.
- https://postimages.org/ - make sure to choose "Direct link" after upload
- https://imgpile.com/ - make sure to choose "Direct link" after upload
- https://postimages.org/ - make sure to choose "Direct link" after upload
- Google Drive and Dropbox are not recommended to host image URLs as files are not usually visible to the public.
- Column D= Scheduled Time
- The time must be written yyyy-mm-dd hh:mm:ss with this exact punctuation. If you change a - too a / for example, the time will not register correctly in your import.
- Column E= Category
- Column F= Evergreen
- All Posts are imported using your default Evergreen setting unless you write "Once" in Column F
- Write all of your posts accordingly filling out each section of the CSV file where necessary
- Note: All columns are optional, but you must have something in at least one of the first three columns (Post Text, a link, or an image)
- Once you're finished writing and formatting your posts, export the file as a CSV
- When saving the CSV file, be sure to choose UTF8-encoding if you have the option
- You can only import 200 rows at a time. If you need to import more items, create separate CSV files using a tool like http://filesplit.org/
- You will be able to review and edit imported Posts before they are added to your Queue, including specifying which Social Profiles to post to 💪
Note: Keep in mind that CSV stands for Comma Separated Values, meaning that the information in every field of your CSV needs to be separated by commas. When saving as CSV, some software (ex: Numbers) could default to other separators that won't work, based on your Language & Region settings. If your CSV isn't successfully importing, open the file and check if other separators are being used.
How To Locate & Initiate A Bulk Import
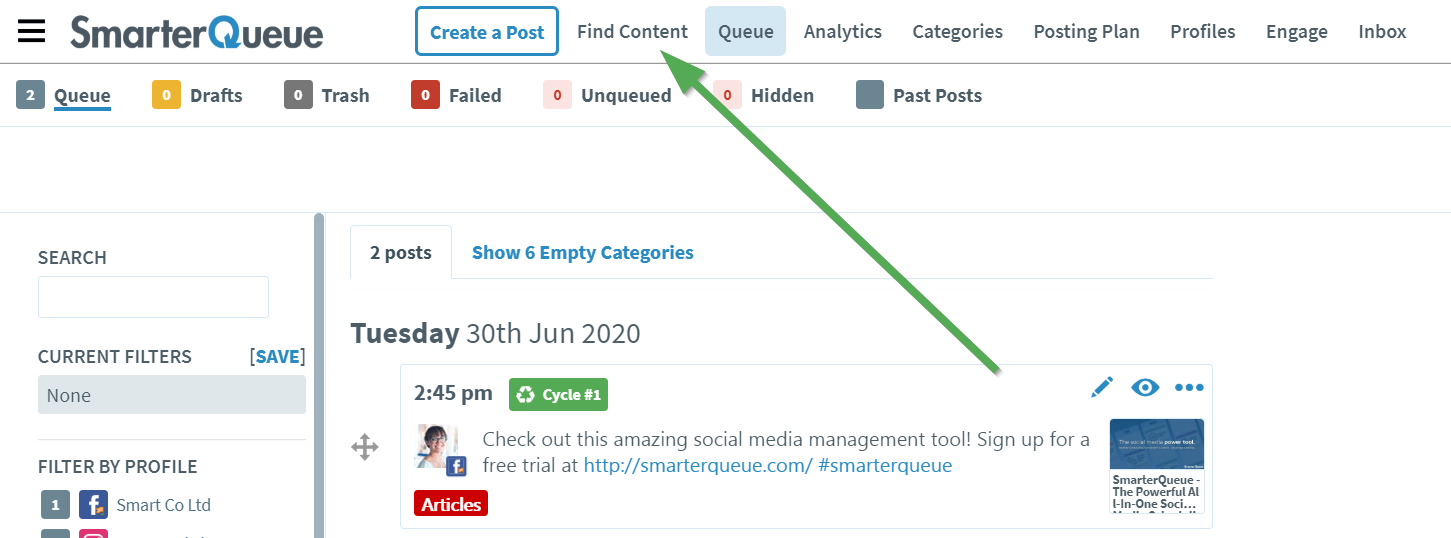
- Select 'Find Content' from the top menu of your SmarterQueue dashboard
- Then select 'Bulk upload from spreadsheet'

- Drag and drop your CSV file onto the screen or click the blue 'Upload CSV File' button to initiate the import

- You'll then see all of your posts inside of the Bulk Importer
- Using the Bulk Editor, you can then adjust any of your import settings including choosing a Category for your posts, selecting the relevant Social Profiles, adjusting image and Evergreen settings

Managing Your Bulk Import Options
To access your import options, click the blue ' Import Options' button at the bottom of the page.
 From here, you can choose whether to add imported Posts to the top or bottom of your Queue or save them as drafts.
Looking at the options in the screenshot below, you can also choose whether to use the 'initial' or 'expanded' link, turn click tracking on or off, and turn UTM tracking on or off.

Common Questions
What happens if I try to bulk import a Post that is too long for Twitter or LinkedIn?
When bulk importing, you will always have the chance to edit the Post Text before adding it to your Queue.
If you are importing to a Twitter account, we will check the post length (including any links and images), and warn you if the Post exceeds Twitter’s 280-character limit or LinkedIn’s 1300 character limit.
You can then edit the text so that it doesn’t exceed the character limit.
Images - when adding posts from CSV import, are the images hosted on SmarterQueue’s servers?
When you import Posts to SmarterQueue via a CSV file, you can add a link to an image for each Post.
The images that you specify for each Post are imported and hosted on our servers, so you don’t have to worry about keeping the images online after the import.
How should I format my CSV import?
If you are curious about how to format your CSV, then you download the CSV Import Template we have made available in the SmarterQueue dashboard.
It will guide you through what each column should be used for.